Dubber Notes sends an AI-generated summary of a conversation by email. You can choose which conversations generate a note and who receives it.
Before you begin
To create or edit Dubber Notes, you must:
- Be an account administrator.
- Have an eligible subscription.
- Have Dubber Notes enabled for your account.
AI Credits: Depending on your subscription, Dubber Notes may use Dubber AI Credits. Optional summary features may use additional credits.
Create a Dubber Note
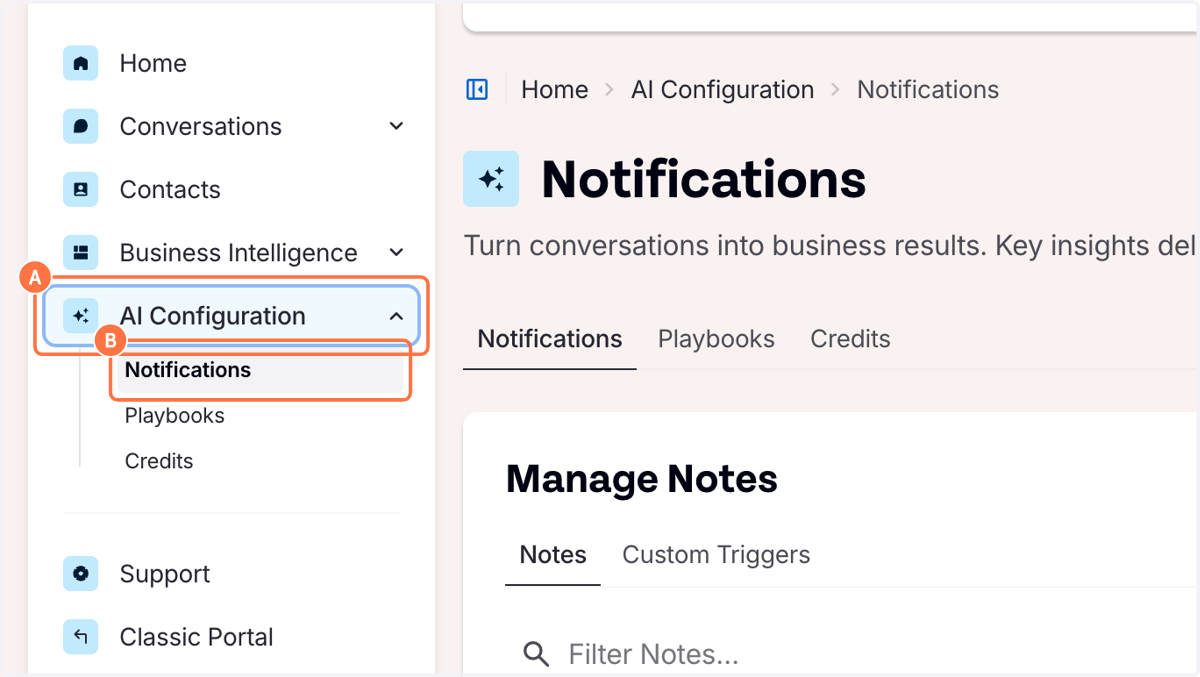
Sign in to the Dubber Portal – New Experience, then go to AI Configuration > Notifications.
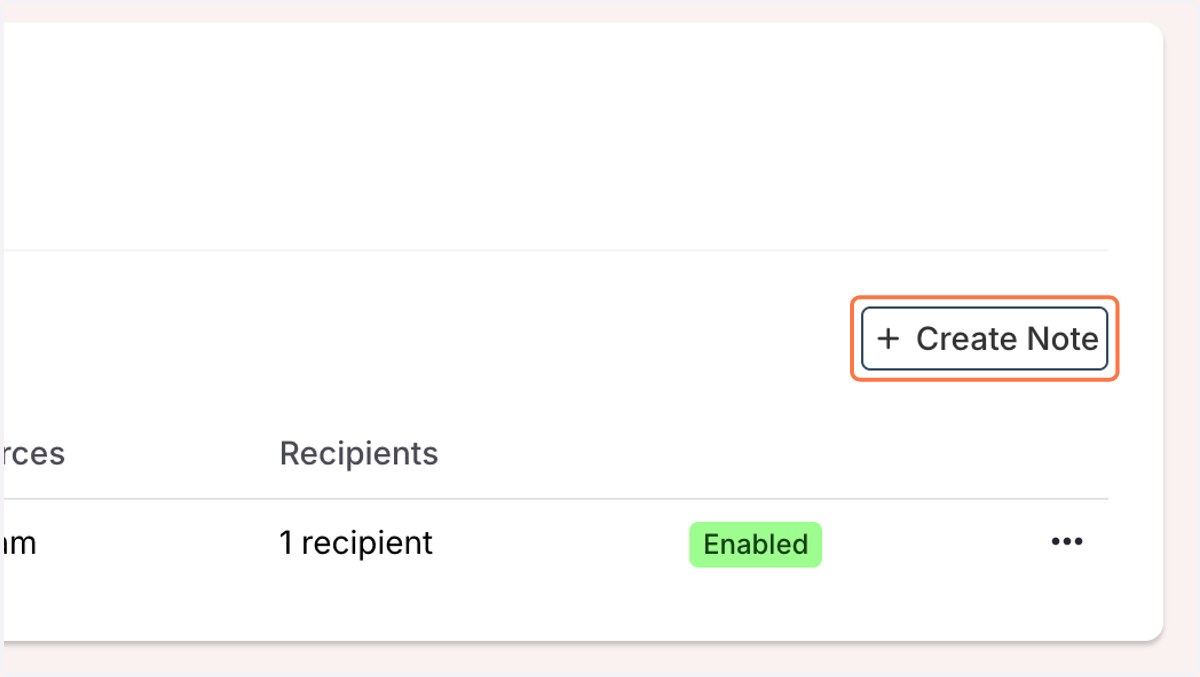
Select Create Note to open the setup screen.
Step 1: Enter the basic information
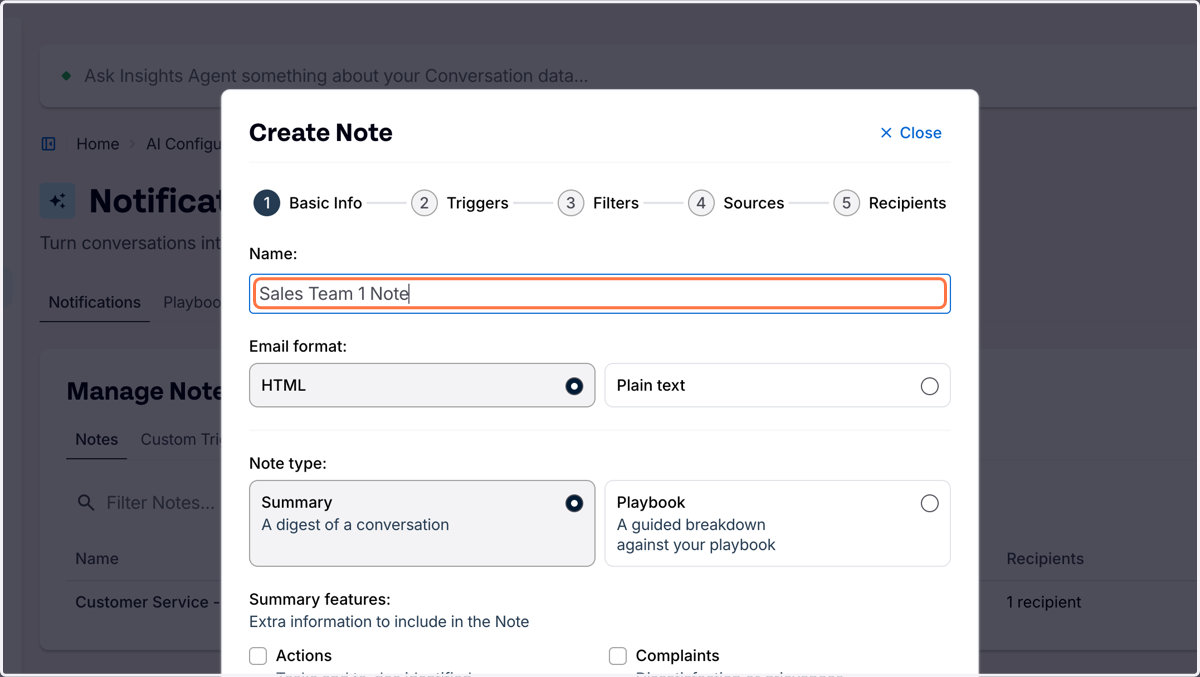
Complete the following fields:
- Name: Enter a descriptive name so you can easily identify the note later. For example, use the name of the team or user it applies to.
- Email Format: Leave the default setting as HTML for the best display in email applications.
- Note Type: Select Summary to include an AI-generated summary of the conversation.
If your subscription supports them, you can also add these optional summary features:
- Actions
- Complaint detection
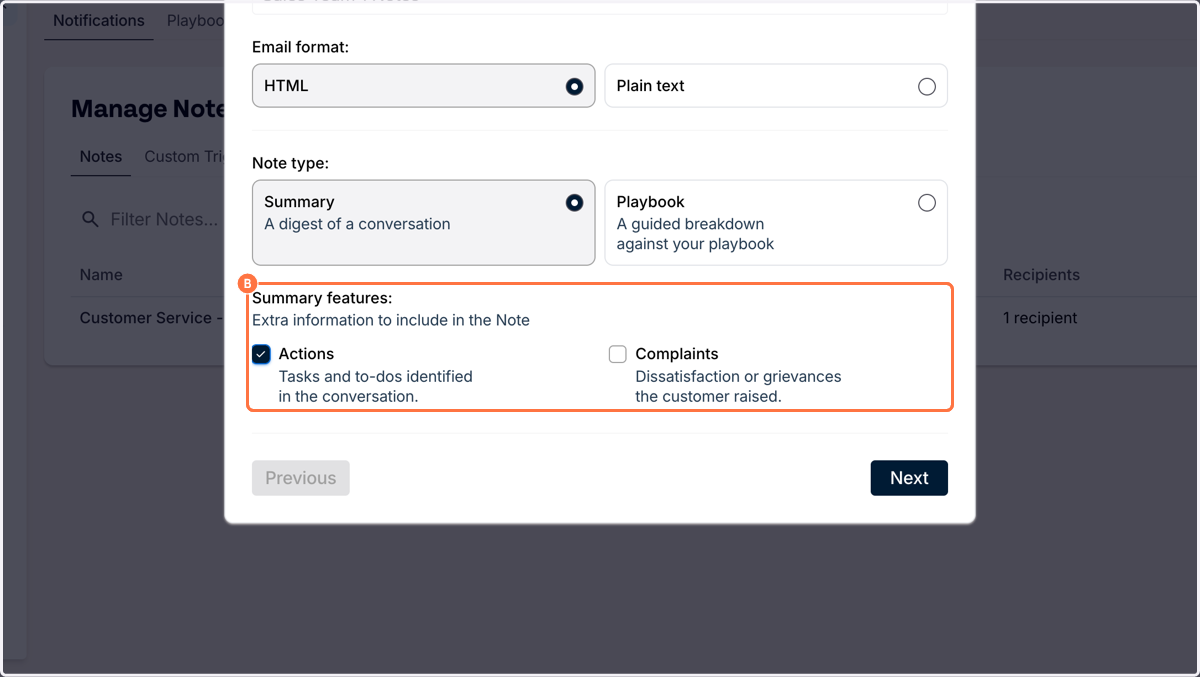
These features may use additional Dubber AI Credits, depending on your subscription.
Select Next.
Step 2: Choose when notes are sent
Triggers determine which conversations generate a Dubber Note.
Choose either:
- All Conversations: Generate a note for every conversation from your selected sources.
- Specific triggers: Generate notes when conversations match the preset triggers you select. Each trigger category contains more specific options.
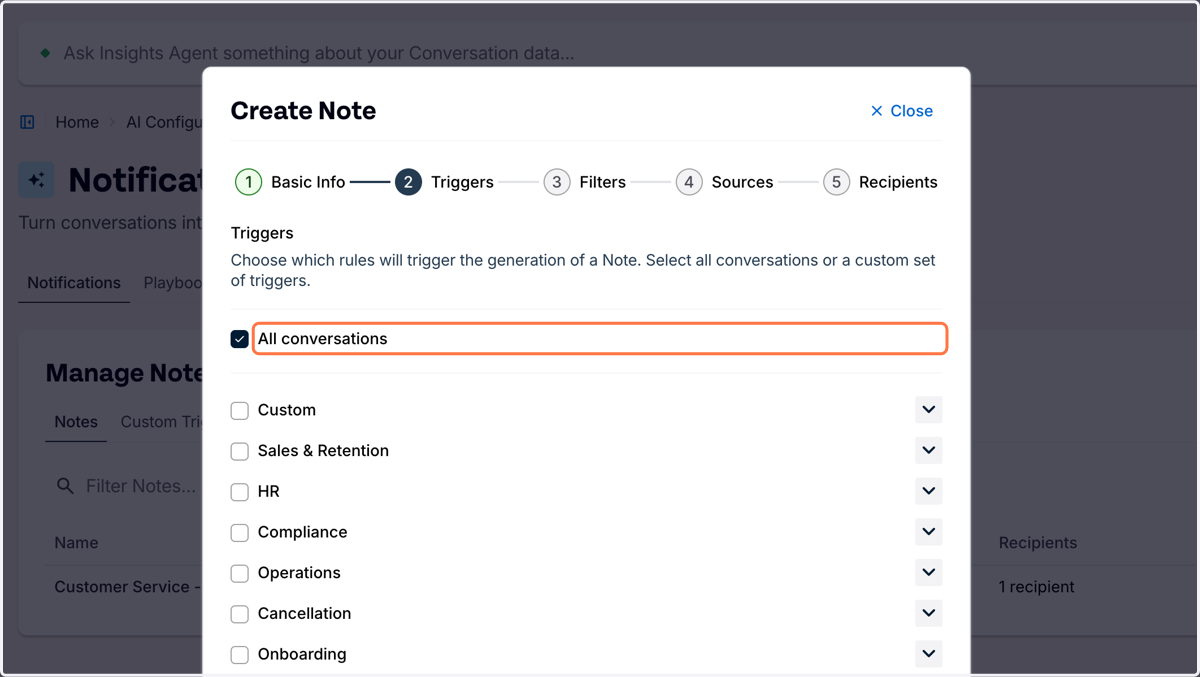
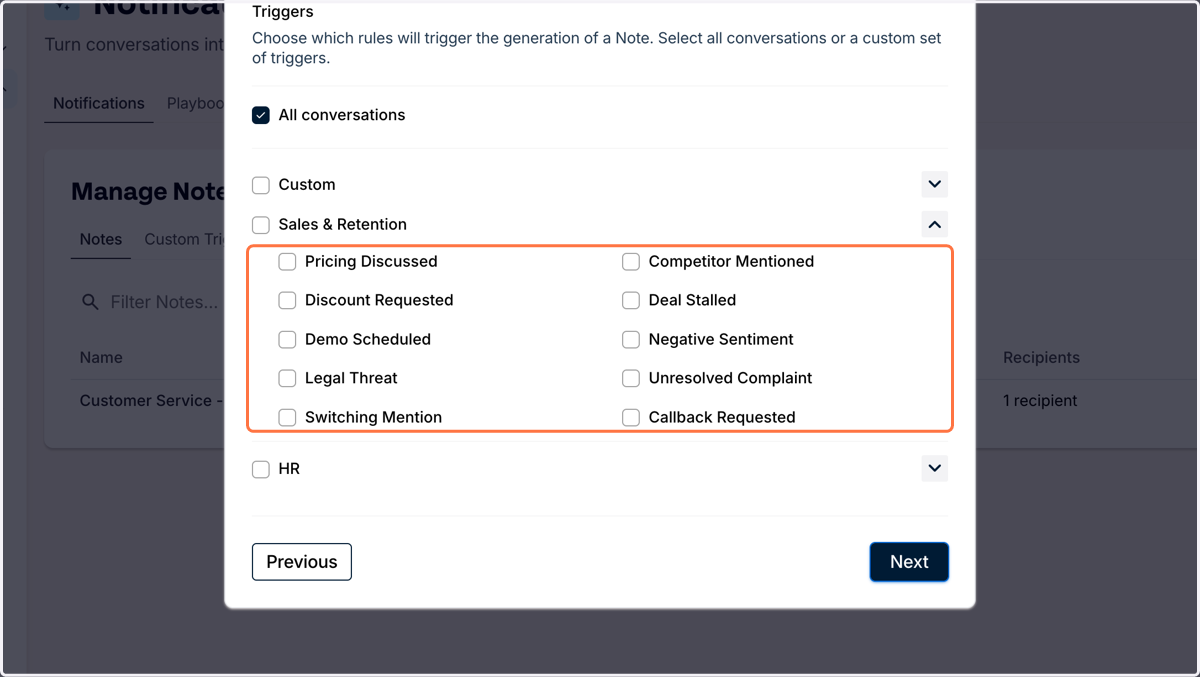
If you are unsure where to start, select All Conversations. You can review the notes you receive and adjust the triggers later.
Select Next.
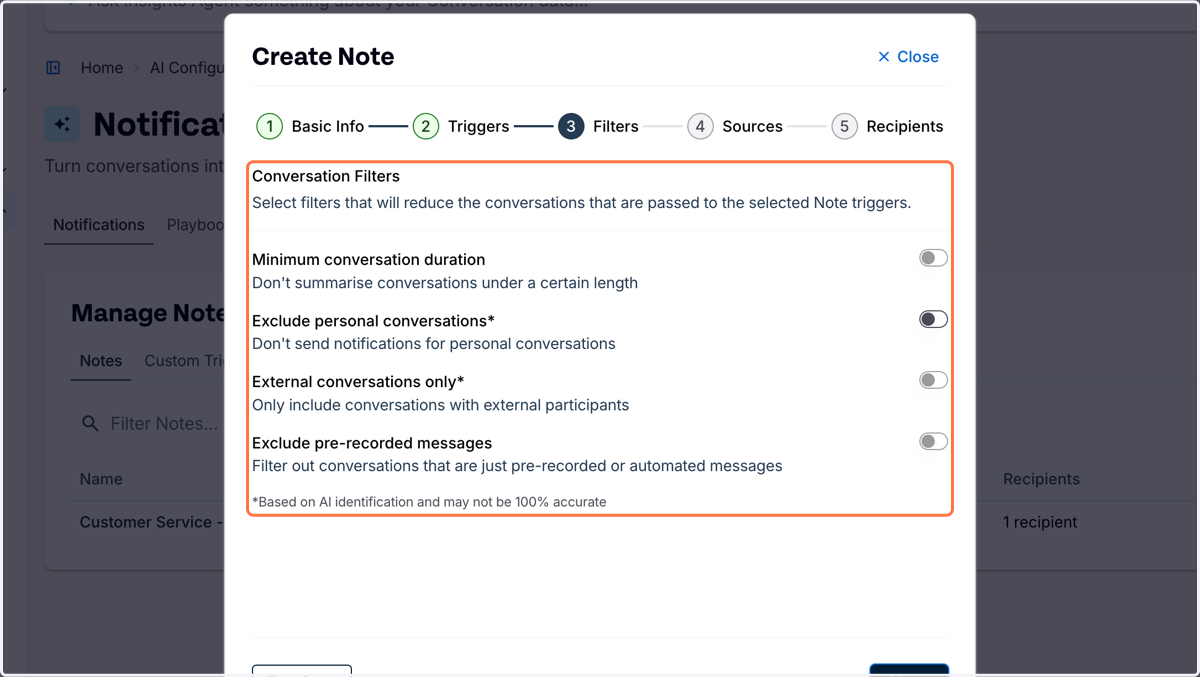
Step 3: Add conversation filters (optional)
Filters help you narrow down which conversations generate notes.
Select any filters you want to apply, or continue without adding filters.
Note: Some filters use Dubber AI and may not always identify matching conversations accurately.
Select Next.
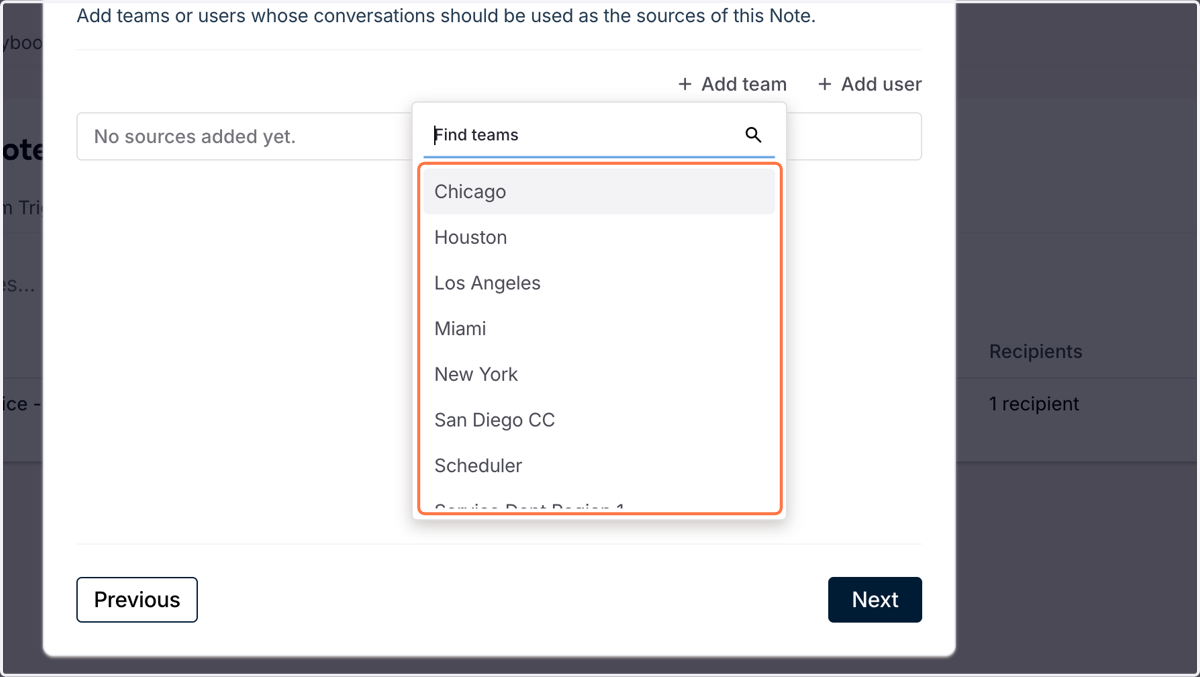
Step 4: Choose the conversation sources
Sources are the teams or users whose conversations you want to generate notes for.
Select Add team or Add User, then choose the relevant teams or users.
When you have added your sources, select Next.
Step 5: Choose who receives the notes
Select the recipients for your Dubber Notes:
- Source Owner: The user whose conversation triggered the note.
Admins & Managers: Account administrators and eligible team managers. Team managers can only receive notes for teams they have permission to manage.
Note: Each recipient must have a valid email address to receive Dubber Notes.
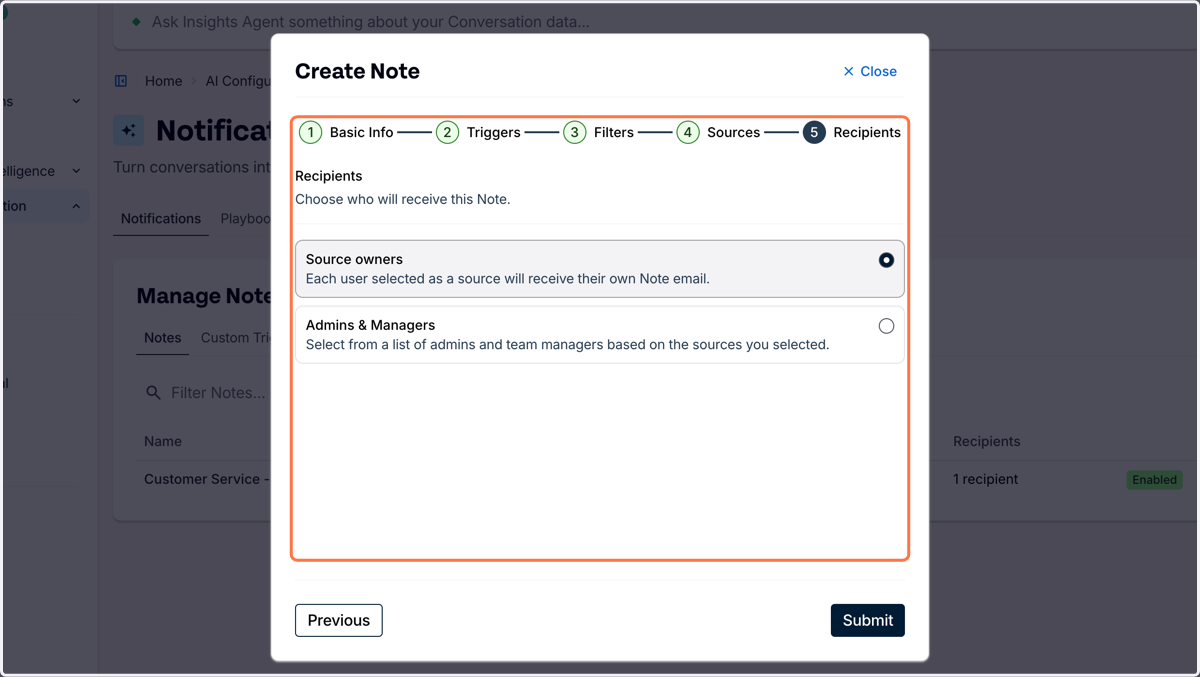
Select Submit to save your settings and activate the note.
Once active, conversations from your selected sources that match your triggers and filters will generate Dubber Notes.
Activation time: Allow up to 15 minutes after submitting for the configuration to become active.
Review or manage an existing Dubber Note
- Sign in to the Dubber Portal – New Experience.
- Go to AI Configuration > Notifications.
- Find the Dubber Note you want to review or manage.
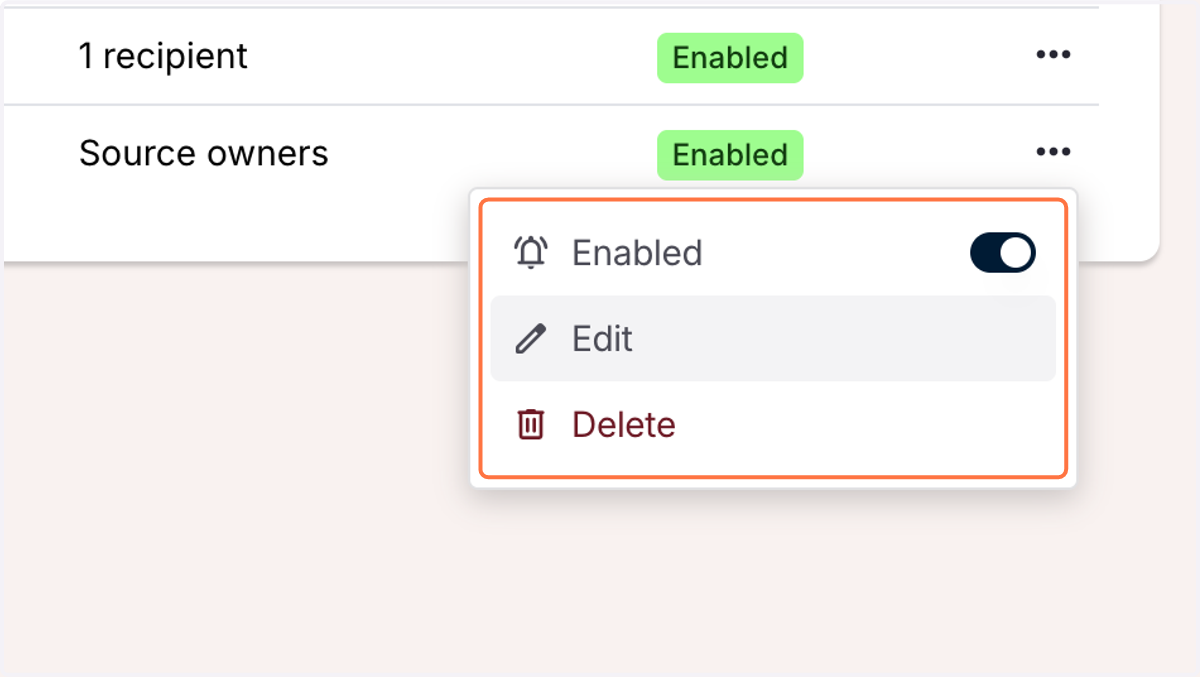
- Open its Actions menu.
Edit a note
Select Edit to open the setup screen. Review or update the settings, then select Submit to save your changes.
Disable or re-enable a note
Switch Enabled off to stop the note from being sent.
Disabling a note keeps its settings, so you can switch Enabled on again when you want to resume sending it.
Delete a note
Select Delete to permanently remove the Dubber Note configuration.
Warning: Deleted configurations cannot be recovered. If you may need the note again, disable it instead.